Friday, July 29, 2011

Online Cheesecake Business

I love to bake cheesecake.

I love to watch people eat my cheesecake.

I love to hear people sigh and moan after eating my cheesecake.

There are a few things in life that I'm good at. There are some things I won't ever be good at (whistling and enjoying intense roller coasters). One of the things I know I enjoy and am good at is baking. Specifically, baking cheesecakes is a favorite past time of mine.

Starting a brick and mortar business really isn't a good idea for me right now. With Sam in the military, it's hard to set my roots down in one place. Who knows when we'll be off to another duty location?!

An online business seems viable. An online cheesecake business seems possible.

It is a lot harder than I thought to find the right shipping containers for cheesecakes. I have to find ones that are insulated and contain cool packs or ice packs to keep it from getting all sorts of grody and melted. I am not excited about the prospect of having to pay upwards of $40 for the box alone. I'd have to pass that cost to the customer and on top of shipping and the initial cost of the cheesecake, we're look at a $80 cheesecake. No bueno.

So. I'm in the very early stages of preparing for an online cheesecake business. I very much look forward to seeing where this takes me!


Friday, July 22, 2011

Cookie Oreo Brownie Monster Bar


Honestly, I don't know what to call this thing. It's a bird...it's a plane...NO! It's cookie-oreo-brownie-monster bar! This thing is a heart attack that goes down like sugar. Just a spoonful of sugar wouldn't help the medicine go down after you fall ill from sugar shock.

This is a creation I first found on pinterest.com and had to recreate it. It starts off with a cookie crust, then oreos layered on top of that, and finally covered with brownie. I had to make it all from scratch--I refused to use box mixes or that frozen dough! Oreos I could have made from scratch but it would have called for a box mix to make them so I just used the cookies from the store.


This monster bar tasted great! Next time I think I'm going to add a cheesecake layer on top. Perhaps I'll make my famous oreo balls and layer them over THAT! Whew. That, my friend, is one heck of a dessert.


Wednesday, July 20, 2011

Music!

http://soundcloud.com/laece/downpour


Check out my music! I've been busy recording the past 6 hours. Fun!

On top of baking, I love to create music. I play the piano, the cello, guitar, and I sing. I'd love to learn the drums one day!

Enjoy!

Friday, July 8, 2011

Rainbow Cake


A rainbow cake is the epitome of joy and culinary delight. It's the merging of unicorn tears and Santa Claus. A wonderful and fantastic treat.

A rainbow cake is a great project for kids and adults alike! Thanks to Martha Stewart and this lovely site for encouraging me!


Simple Rainbow Cake

3 cups all-purpose flour
4 teaspoons baking powder
1/2 teaspoon salt
2 sticks (1 cup) unsalted butter, room temperature
2 1/3 cups sugar
5 large egg whites, room temperature
2 teaspoons pure vanilla extract
1 1/2 cups milk, room temperature
Red, orange, yellow, green, blue, and purple gel food coloring

Preheat oven to 350
Spray 6 nine inch pans with pam or grease with shortening.

Whip butter and sugar til fluffy.
Add egg whites and vanilla.

Mix together flour, baking powder and salt.

Add flour mixture and milk to butter mixture alternately.

Separate batter into 6 different cups or bowls.
Add gel coloring to each one--whatever colors you'd like.
mix and stir until fully incorporated.
Pour each separate color into a pan.

Bake for about 10-15 minutes or until a toothpick comes out clean.

Stack and layer with frosting between. If you want it to be nice and even, level the cakes and make sure all the layers are nice and even when you frost.

ENJOY!


Yes!

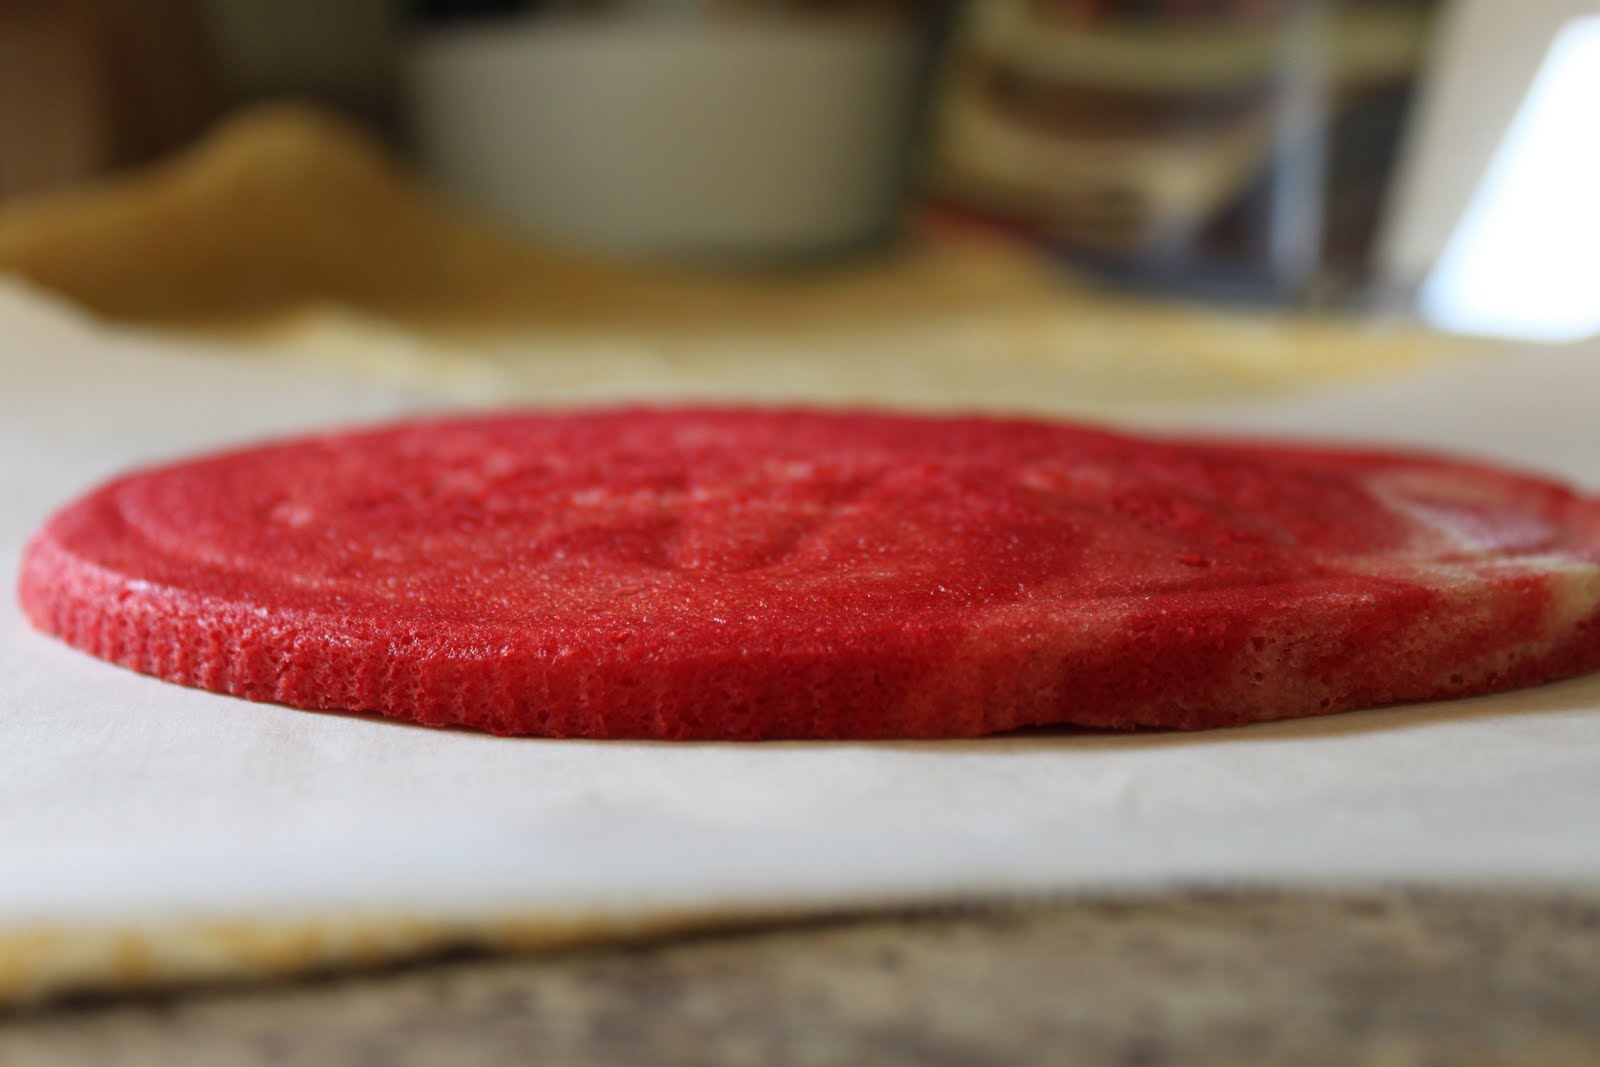
If you notice, the cake layers are quite thin. This was made by following the recipe and not doubling it. I highly recommend that you double the recipe! To make the cake layers a little more defined, try putting a little more frosting between the layers.

I totally forgot baking powder when I baked this cake.... I won't be doing that again! ENJOY!

Sunday, July 3, 2011

Homemade Caramel


Friend! Where have I been, you ask? I reply "Baking furiously for the king."

It sure feels like I've been locked away. Been busy with so many things it's hard to get out anymore!

I haven't shared any baking adventures with you lately, so time to update! I'm caked out. I'd like to perfect peach and apple crisps. However, today it was time to tackle caramel sauce. I have yet to make caramel candies but I imagine it wouldn't be to crazy hard. This caramel is certainly saucy. It thickens as it cools but won't give you a hard candy apple shell. It'll just be saucy caramel-ly (unless you know something I don't about caramel and make it thicker and stickier).

I found the caramel recipe from Simply Recipes.


Homemade Caramel Sauce


1 cup sugar
6 tbsp butter (I used mine cold and didn't have a problem)
1/2 cup heavy cream
(optional: 3 tbsp vanilla extract)

Use a large pan. When you are working with the sugar and also with mixing in the cream and butter, it will bubble up and you don't want a spillover or burns! Be extra careful while whisking this. It needs almost constant whisking. Don't let it spill up onto you or you might scream in terror!!

Assemble ingredients. Put butter in a bowl and cream in a cup. You want it all ready to go because when you need to add them, you need to add them right away and won't have time to go get them from the fridge.


Pour sugar in pan. Use medium to medium high heat. Stir sugar. The whole process to make caramel took about 10 minutes and 8 minutes of it is waiting for the sugar to melt.

Keep stirring. I used both a wooden spoon and a whisk. Once sugar is melted and it's nice and creamy smooth and rich amber color, remove from heat. Immediately whisk in butter and cream by adding them alternately. Whisk like mad. I mean it! Don't let it sit. Whisk whisk. If it looks like it's starting to clump, whisk it even harder. Keep whisking until it's nice and smooth and creamy.

Let it sit until room temp. You could cool it or use it hot. You might have to microwave it if you refrigerate it.


Skewered slices of apples and dipped them in caramel!


Yummy Caramel Apple!


Stir in some peanuts or pecans! Go crazy and sprinkle it with marshmallows or M&M candies! It's quick and yummy. It tastes like a Werther's Original Hard Candy. I highly recommend this recipe. Just be sure to stir and stir and don't let it burn.

Best of luck!

Thursday, June 2, 2011

Bearded Dragon Cake and Amazing Buttercream


A BEARDED DRAGON CAKE?!MADNESS! I know the question you must be asking is "Does it contain real bits of lizard?" The answer, unfortunately for those with a lizard loving palate, is no. But I'm absolutely positive that it's delicious and the client will love it!

I have gotten a few odd requests for cakes: A wrestling ring cake, a darth vader head cake, a camouflaged army tank cake, and now a bearded dragon cake. I am so happy that people trust me with their head cakes and lizard cakes. It's quite a high honor, you know.

Seriously though--I have to be absolutely innovative and creative. There's no way for me to finish a cake and make it look amazing without first setting the foundation. I have to ask myself how the cake will stand, how it will be organized, and what decorations I'll need to make. Cake flavor and filling are the fun parts but the exciting stuff happens with the decoration or theme.

This cake is a surprise for a little guy. He is receiving a real bearded dragon for his birthday--so to kind of prep him for it, they wanted a cake like it. I thought about making the cake HUGE and making it shaped like a bearded dragon. Then I realized how huge it would have to be to even look good and it's not meant to feed but 10 people. I had to rethink my strategy.

Why not make a cake that resembles a giant rock with a lizard or two chillin' on it? Sounds perfect! Then under and around the rock, put a bit of "sand" (finely crushed shortbread). POIFECT! I was getting giddy just thinking about it. I put my imagination to work and started create-devising a structure and it all fell into place.

About Sculpting Cakes

In the past, I've searched and tested recipes for a good cake that will sculpt well. I want one that isn't crumbly and is firm. I used a chocolate pound cake recipe and thought it was decent but then I went back to my original chocolate cake recipe (YUM!) and it worked out even better. Don't get too caught up with finding the perfect cake recipe. If you think you'll have a problem, freeze the cake for a bit to stiffen it up.


Here we have my basic two layer cake after I cut it into a jagged rocky shape.


I frosted it with my chocolate buttercream recipe.


I didn't worry about smoothing the frosting too much on this one because it was to resemble rocks anyway--didn't want it to be perfectly smooth.


I then covered the entire thing with black fondant. I bought this fondant at Michaels (Joanns? Hobby Lobby?) because I heard tinting your own fondant black might be tricky. It's pretty good stuff.


Fondant Bearded Dragons

Fondant is like play-doh except that it tastes ten times better. It's easy to sculpt with and it's resilient. Here in Colorado the fondant dries out as quickly as the desert engulfs a drop of rain. You have to be quick to work with it but once you have your result, let it dry overnight and it'll harden up. I really like sculpting with fondant. You can tint it with gel food coloring. I paint on it with vanilla extract/food color mix. It gives it a watercolor effect. You'd be better off tinting the entire thing in the beginning instead of painting it later if you want a more consistent result.

I simply shaped the fondant to look like a bearded dragon. I used pictures online for reference. To make the spikes, I cut little spikes into the "skin." For the bigger one, I instead pinched the fondant to give it a more aggressive look. I'm really happy with the result.


Here is my first attempt at making the lizard. Turned out pretty well!


The lizards' heads are propped up on my bag of baking powder until they solidified. I do this to make the head raise up instead of making it all just lay on the ground. It will dry in that position and give it a more realistic and dimensional appeal.


Hello, Mr. Lizard.


LIZARDS!
Final result. I'm pretty stinkin' proud of it!


BUTTERCREAM!

I'm excited to create another cake. I'd like to start messing around with plain jane buttercream decorations. I've perfected my buttercream recipe!


Vanilla Buttercream


1cup butter softened
1cup shortening
2 cups powdered sugar
1/4 cup milk
vanilla extract

Whip butter and shortening for about 10 minutes. You want it to be nice and fluffy.

Add in the powdered sugar bit by bit (don't just dump it all in there--let it incorporate).

Mix in the milk and extract and the final bit of sugar.

Keep whipping.

Whip some more.

Tickle it with a feather and whip it a few more minutes.

VOILA.

Amazing Buttercream.

At this point, If you're an extract type of person, add in some lemon, cinnamon, or orange extract. This would be the point to add some cocoa as well. I usually never have chocolate baking bars on hand so I use cocoa. I would say you'd need darn near a cup of cocoa to make this frosting frothy chocolatey.

Helpful Tip: Equal parts fats and double total amount for sugar need. AKA 1cup butter and 1 cup shortening will need 2 cups sugar. five cups butter and 5 cups shortening will hypothetically need 10 cups sugar (never tried it in that big of batch). I've tried this up to 6 cups of sugar (3c butter, 3 c shortening) and it hasn't given me a problem. Just adjust your milk a bit.